 Greg Hoffman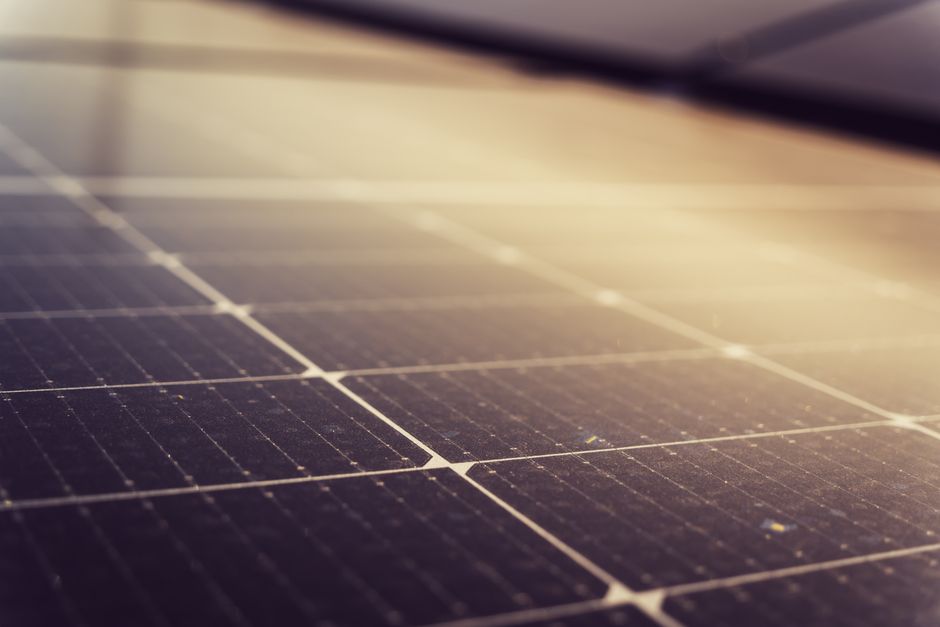
Most people shopping for RV solar panels start by asking “how many watts do I need?” That’s the wrong first question. After eight years on the road and three separate solar builds across two different rigs, I can tell you the question that actually matters is: what does your battery bank look like? Because you can bolt 800 watts of panels to your roof and still run out of power by 9pm if your battery storage isn’t matched to your generation. I’ve watched people spend $2,000 on panels and then wonder why their system underperforms. The battery bank is the foundation. Everything else is built on top of it.
Here’s what I actually learned going deep on this, including some things that surprised me.
Understanding the Real Components of an RV Solar System
A solar setup is not just panels on a roof. It’s a chain, and every link matters.
You have four core pieces: the solar panels themselves, a charge controller, a battery bank, and an inverter if you need AC power. Leave out any one of these or mismatch their sizing, and the whole system either underperforms or fails outright.
Solar panels convert sunlight to DC electricity. Most residential RVers are running 100-watt to 200-watt monocrystalline panels. Monocrystalline is more efficient per square foot than polycrystalline, which matters when roof space is limited. Flexible panels exist but I’ll be honest: I’ve seen them delaminate within two years on multiple rigs. They run hotter, which kills efficiency, and they don’t breathe well against a flat roof. Rigid panels with a small air gap underneath are almost always the better long-term call.
Charge controllers are where I see the most confusion. There are two types: PWM (Pulse Width Modulation) and MPPT (Maximum Power Point Tracking). PWM is cheaper but wastes available energy, sometimes significantly. MPPT controllers, like the Renogy Rover 40A MPPT, can extract 20-30% more power from the same panels, especially in cold weather or partial shade conditions. If you’re investing in a real solar system, spend the extra $50-100 on MPPT. You’ll recover the cost in performance within the first few months.
Batteries are where the money really goes and where the decisions matter most. I’ll cover this in its own section below.
Inverters convert DC battery power to AC household current. A pure sine wave inverter is non-negotiable if you’re running sensitive electronics, laptops, CPAP machines, or anything with a variable speed motor. Modified sine wave inverters are cheaper but can damage some appliances over time. I run a 2,000-watt pure sine wave unit and have no regrets.
Battery Bank: The Decision That Changes Everything
| Component | Lead-Acid (AGM) | Lithium (LiFePO4) |
|---|---|---|
| Upfront Cost (100Ah) | $150-200 | $700-1,000 |
| Usable Capacity | ~50% of rated | 80-90% of rated |
| Cycle Life | 300-500 cycles | 2,000-3,000+ cycles |
| Charging Speed | Slower | Faster |
| Weight | Heavier | Significantly lighter |
| Voltage Stability Under Load | Standard | Better |
Lead-acid batteries (flooded, AGM, or gel) have been the RV standard for decades. They’re cheap upfront, widely available, and well understood. But there’s a catch most salespeople won’t tell you: you can only safely use about 50% of a lead-acid battery’s rated capacity before you start damaging the cells. So a 200Ah AGM battery actually gives you around 100Ah of usable power.
Lithium iron phosphate (LiFePO4) batteries changed the math entirely. You can discharge them to 80-90% without damage, they charge faster, they hold voltage better under load, and they weigh significantly less. I made the switch to two 100Ah LiFePO4 batteries two years ago and it was the single best upgrade I’ve made to my electrical system, full stop.
The tradeoff is cost. Expect to pay $700-1,000 for a quality 100Ah LiFePO4 battery versus $150-200 for a comparable AGM. But when you factor in lifespan (LiFePO4 typically lasts 2,000-3,000+ cycles versus 300-500 for AGM), the math often favors lithium over a 5-10 year horizon.
A battery monitor like the Victron BMV-712 is one of those purchases I wish I’d made on day one. Watching your actual state of charge, not a rough voltage estimate, changes how you manage power completely.
One more thing: if you’re going lithium, confirm your charger, shore power converter, and charge controller are lithium-compatible. Not all are. Charging lithium with a charger programmed for AGM won’t necessarily destroy the battery immediately, but it will undercharge it and shorten its life.
Sizing Your System: A Realistic Step-by-Step Approach
Skip the online solar calculators that ask you to pick appliances from a dropdown list. They’re built for simplicity, not accuracy. Here’s how I actually size a system.
Step 1: Track your real daily consumption. Install a battery monitor and live with your current setup for a week. Note how many amp-hours you pull per day. If you don’t have a monitor yet, you’re guessing.
Step 2: Identify your consumption patterns. My daily use runs about 80-100Ah on a typical day: a 12V refrigerator (about 40-50Ah/day), lighting (5-10Ah), phone and laptop charging (10-15Ah), a fan or small pump (variable). Heavy AC or microwave use changes these numbers dramatically.
Step 3: Size your battery bank first. Aim for enough storage to cover 2 days of consumption without solar input. That gives you a buffer for cloudy days. At 100Ah/day, that’s 200Ah of usable capacity, so 400Ah of AGM or 250Ah of LiFePO4.
Step 4: Size your panels to replenish in one good sun day. In most of the US, you can count on 4-5 peak sun hours per day on average (less in the Pacific Northwest, more in the Southwest). To replace 100Ah in one day at 12V, you need roughly 1,200 watts of charging input across those peak hours (100Ah x 12V = 1,200 watt-hours, divided by 5 sun hours = 240 watts of panels, with some efficiency losses built in). I typically recommend sizing up 20-30% to account for real-world inefficiencies.
Step 5: Size your charge controller to handle your panel array. Match the controller’s amperage rating to your panel wattage. Most MPPT controllers handle 20-60 amps. Running a 400-watt array at 12V means roughly 33 amps, so a 40A controller works. Always leave headroom.
| Component | Budget Build | Mid-Range Build | Full-Time Boondocking Build |
|---|---|---|---|
| Panels | 200W | 400W | 600-800W |
| Battery Bank | 200Ah AGM | 200Ah LiFePO4 | 400Ah LiFePO4 |
| Charge Controller | 20A MPPT | 40A MPPT | 60A MPPT |
| Inverter | 1,000W modified sine | 2,000W pure sine | 3,000W pure sine |
| Estimated Cost | $600-900 | $2,000-2,800 | $4,500-7,000+ |
Installation: What No One Puts in the Instructions
I’ll be honest: the installation manuals for solar components are often written for people who already know what they’re doing. Here’s what I wish someone had told me.
Wire sizing matters more than most people think. Undersized wire doesn’t just lose efficiency through resistance, it creates a fire risk. Use an online wire gauge calculator and always size for the maximum amperage your system might ever produce, not the average. For most runs under 10 feet between panels and controller, 10 AWG wire handles up to about 30 amps. Longer runs need heavier gauge.
Mount panels with proper hardware, not just caulk. I’ve seen panels blow off rigs at highway speed because someone just used lap sealant. Aluminum Z-brackets with self-tapping screws into the roof structure are the right call. Seal every penetration with Dicor self-leveling sealant, recheck it every 6 months.
Run your wiring through the interior whenever possible. Exterior conduit on a moving RV vibrates, rattles, and eventually cracks. A clean interior run protects your wires and looks better.
Fuse everything at the source. Every wire leaving your battery bank should be fused within 18 inches of the battery. No exceptions. A short in an unfused wire is how RV fires start.
Pair your solar with a quality surge protector on shore power. Your solar system won’t protect your appliances from bad campground power, and bad campground power is more common than you’d think.
Common Mistakes That Cost Real Money
Sources
- Renogy Rover 40A MPPT
- battery monitor like the Victron BMV-712
- quality surge protector on shore power
- proper water filter
- Michael Pointner
What surprised me when I started connecting with other full-timers was how often people make the same expensive mistakes.
Mixing old and new batteries. Adding a new battery to a bank with older ones drags the new battery down to match the degraded ones. If you’re expanding your bank, start fresh.
Shading one panel and tanking the whole array. Panels wired in series are like Christmas lights. One shaded panel drops the output for the entire string. Consider wiring in parallel or using a charge controller with individual panel optimization. Even a roof vent or AC unit casting a shadow on one corner of one panel can cut your production by 30-40%.
Skipping a proper water filter when boondocking while focusing entirely on power. Okay, this isn’t a solar mistake, but it’s a classic “got obsessed with one system and ignored another” mistake. Solar is often the shiny object. Don’t let it be.
Expecting full-rated wattage in real conditions. A 400-watt panel array might produce 280-320 watts on a good clear day. Panels are rated at ideal laboratory conditions: 77°F, direct perpendicular sunlight. In practice, heat reduces efficiency, angle matters, and atmospheric haze cuts output. Plan your system around realistic production numbers.
Eight years in, I still think solar is one of the best investments you can make for full-time or serious part-time RV living. Not because it’s cheap or simple, but because the freedom it buys is real. Waking up on public land in New Mexico with no hookups, no fees, and a full battery bank is a different experience than constantly chasing campgrounds with electrical pedestals. Get the battery bank right first. Size your panels honestly. Don’t skip the fusing. The rest is just details.
Photo: Michael Pointner via Pexels