 Tony Reeves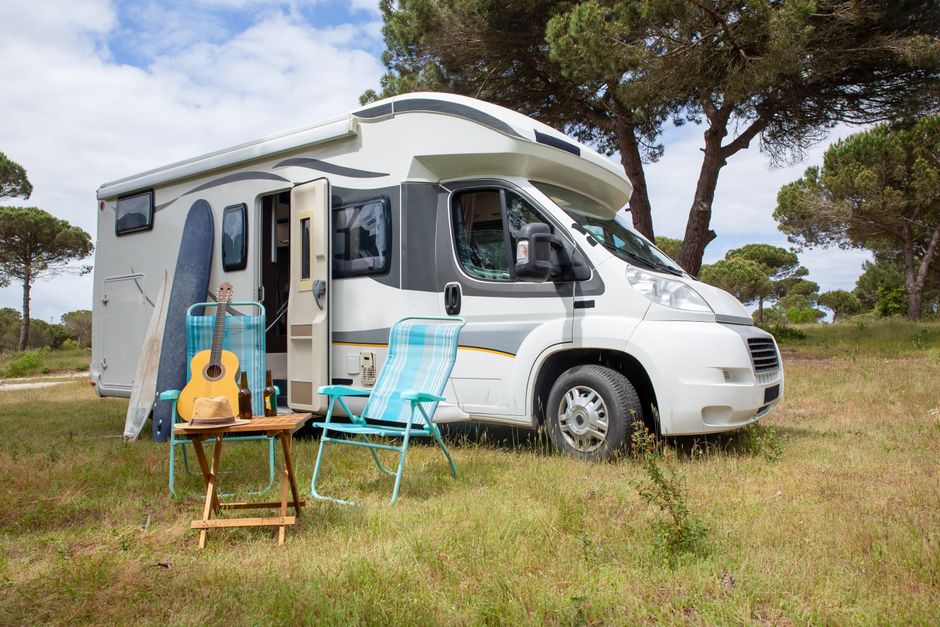
Slide rooms will quietly destroy your RV if you ignore them long enough. Most maintenance articles list “lubricate the seals” and call it good. That’s like telling someone to “check the engine” and expecting them to actually fix anything. Here’s what actually goes wrong, how to catch it early, and what to do about it.
The seal is not your main problem
Everyone obsesses over slide-out seals. They’re the visible thing, the part you can poke with your finger in a YouTube video. But in my experience, the seals themselves last reasonably well if you keep them clean. What actually fails first is the seal’s mounting channel and the wiper seal at the bottom of the slide.
The wiper seal is that flat, flexible rubber strip that drags along the floor when the slide moves in and out. It scrapes up grit, pet hair, gravel, whatever you tracked in from the last campground. Within two or three years on a full-timer’s rig, that wiper seal can wear down to almost nothing. When it does, outside air, moisture, and insects have a highway right into your rig. I replaced mine on my Keystone Cougar around year four. It wasn’t cheap ($140 in parts, plus a Saturday afternoon) but water had already started staining the subfloor edge.
For the main perimeter seals, Dicor and Camco both make slide seal conditioner. Use it. Every 90 days minimum. More if you’re in the Southwest desert where UV degrades rubber faster than anywhere else I’ve camped. Apply it with a soft cloth, work it into the folds, and don’t use anything petroleum-based. Petroleum swells EPDM rubber temporarily and then dries it out.
One more thing people skip: clean the seal before conditioning it. A dirty seal holds grit against the slide skin, and grit is how you get those ugly gouges in the aluminum. Warm water, a drop of dish soap, rinse, dry, then condition. It takes maybe 20 minutes per slide.
The drive mechanism is where real money gets lost
| Slide-Out System | Common Brands | Key Failure Mode | Cost If Late | Prevention Priority |
|---|---|---|---|---|
| Rack-and-Pinion | Lippert, Schwintek | Misalignment/racking; gear track bending | $800-$1,400 | Lubricate with dry lubricant; stop if grinding/clicking |
| Cable-and-Pulley | Various | Cable fraying; pulley wear | Unknown | Inspect cables semi-annually; replace before snapping |
| Hydraulic | Class A coaches | Fluid leaks; seal damage | $600+ per seal | Check fluid level and hose connections every 6 months |
There are three main slide-out systems on production RVs today: rack-and-pinion (Lippert and Schwintek being the dominant versions), cable-and-pulley, and hydraulic. Each fails differently.
Schwintek in-wall systems are common on lightweight travel trailers and fifth wheels. They’re compact, relatively quiet, and also the most sensitive to misalignment I’ve ever worked on. If one motor starts moving slightly faster than the other, the slide racks. Once it racks, you can bend the gear track. I’ve seen repair estimates for a racked Schwintek slide run $800 to $1,400 at a dealer. The fix is almost always the same: catch it early. If your slide is moving unevenly or you hear a grinding or clicking sound, stop cycling it. Running it further makes the damage worse, not better.
Lubrication on rack-and-pinion systems matters more than people admit. Use a dry lubricant like Super Lube with PTFE on the gear tracks, not WD-40. WD-40 attracts dust and you’ll have a grinding paste inside your drive mechanism within a few months of full-time camping. I made this mistake myself in year two. Took me a while to figure out why my slide sounded progressively worse even after “lubing” it.
Cable-and-pulley systems show their age through fraying cables and worn pulleys. Run your hand carefully along accessible cable sections once or twice a year. Any visible fraying means replace the cable now, not after it snaps with the slide halfway out in a campground in Amarillo on a Sunday.
Hydraulic slides are generally found on larger Class A coaches. They’re powerful and relatively reliable, but hydraulic fluid leaks will destroy seals on everything they touch. Check the hydraulic fluid level and inspect hose connections every six months. If you see that reddish-brown fluid anywhere near your slide mechanism, find the source before it becomes a $600 seal replacement job.
Subfloor rot: the silent expensive one
Water intrusion around slides is the single biggest source of serious structural damage in the RVs I’ve seen at shops and campgrounds over eight years. The problem is that subfloor rot is almost always invisible from inside the coach. The laminate or vinyl flooring looks fine right up until you step on it and your foot goes through.
Get under your rig twice a year and look at the belly pan beneath the slide room opening. Any discoloration, soft spots, or sagging belly material is a red flag. From inside, press firmly with your hand along the floor at the edge of the slide opening, especially the corners. Soft or springy where it should be rigid means moisture got there first.
The fix, if you catch it early, is doable. Dry it out, treat it with a wood hardener like Minwax High-Performance Wood Hardener ($15 at any hardware store), and seal the intrusion point. If you catch it late, you’re looking at a shop pulling the slide and replacing floor decking. I’ve watched that job cost a full-timer $3,500 at a Camping World service center.
What a maintenance schedule actually looks like
Sources
Every trip: visually inspect the slide seals for tears, debris caught in the folds, or any debris on the slide track. Takes 30 seconds.
Monthly: wipe down and condition the perimeter seals. Lubricate the drive mechanism if it’s rack-and-pinion or cable-based. Check that the slide is sitting level when fully extended (it should have even gaps on all sides).
Every six months: inspect the wiper seals for wear, check cable condition if applicable, inspect the belly pan, check hydraulic fluid if applicable, and look at the slide’s roof seal where it contacts the main roof. That roof seal junction is where water gets in and nobody looks until it’s too late. A tube of Dicor self-leveling lap sealant ($10 on Amazon) applied proactively costs a lot less than what comes after.
Annually: have someone cycle the slide while you watch the drive mechanism move. You want to see smooth, even movement. Listen for anything that sounds different from last year.
Photo: Kampus Production via Pexels