 Sandra Park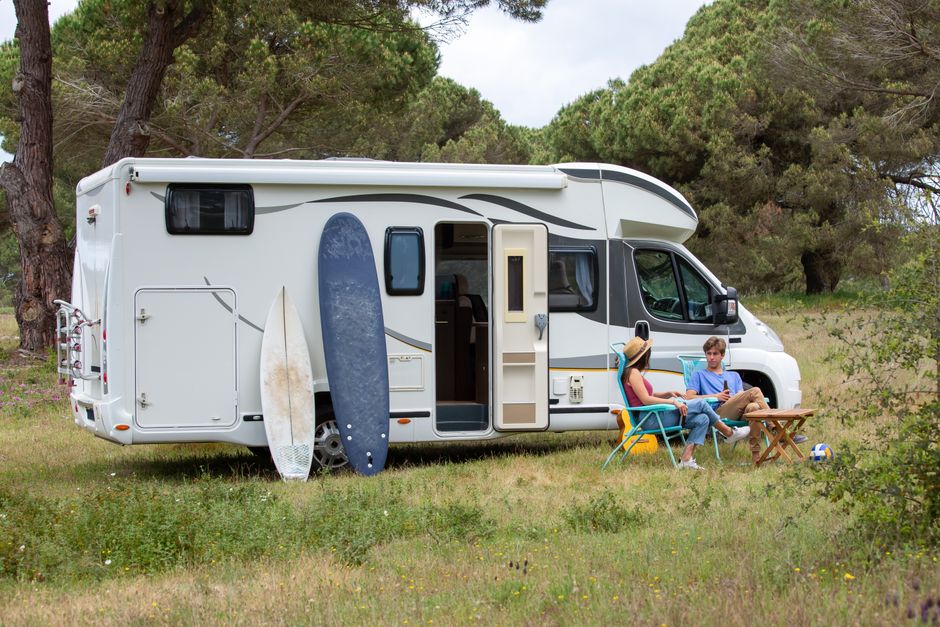
You’ve just pulled into a full-hookup site after a 400-mile drive. Your back hurts, the dog needs out, and your partner’s already asking when dinner is happening. You spot the pedestal with the water spigot, the 30-amp outlet, and the sewer cleanout cap, and you think: I’ve got this. Then you forget the order of operations, hook up water before leveling, and spend the next twenty minutes re-doing everything while your neighbor watches from a lawn chair. I’ve been that person. I’ve also been the neighbor watching someone flood their own sewer hose connection all over a perfectly nice campsite in Moab.
Getting your hookups right isn’t complicated once you understand the logic behind the sequence. But “not complicated” doesn’t mean “obvious.” There’s a reason experienced RVers develop a setup ritual they never deviate from.
The Right Order Actually Matters
Most campground guides won’t tell you this directly, but the sequence matters for both safety and cleanliness. Here’s the order I use after eight years, and why.
Level first. Always. Before anything connects to anything, get the rig level. If you’re on water when you decide to nudge the rig two feet forward on leveling blocks, you’re either yanking a hose or leaving connections half-attached. Level the coach, set your stabilizers, and then move on.
Electric second. Once you’re parked, shore power goes in first. Your fridge, your CPAP charger, your battery management system, all of it benefits from being on shore power while you’re setting up the rest. More importantly, you want a surge protector inline before anything else draws power.
I’ve seen two inverters and one air conditioning unit get fried by power pedestals with wiring problems. A quality surge protector like the Progressive Industries EMS-HW30C is one of the best $200-$300 you’ll spend. The cheap plug-in versions offer some protection; the hardwired units are more comprehensive. Either beats nothing. (Disclosure: this site may earn a commission on qualifying purchases.)
Water third. Connect freshwater after you’re on shore power. The order here matters less for safety and more for practicality. You want a clean drinking-water hose (white, not the green garden hose from home), a pressure regulator, and a water filter inline.
Sewer last. Always. This one isn’t debatable.
Electric Hookup: 30-Amp vs. 50-Amp and What Goes Wrong
| Component | 30-Amp Service | 50-Amp Service | Notes |
|---|---|---|---|
| Typical RV Type | Smaller/older rigs | Large fifth wheels, Class A, dual AC | |
| Connector Size | Standard | Large | Arcing risk if breaker not off |
| Using 50-amp pedestal with 30-amp RV | N/A | Works fine with dogbone adapter | No power management needed |
| Using 30-amp pedestal with 50-amp RV | N/A | Possible with adapter | Requires careful power management |
| Breaker Protocol | Off before plug-in, on after | Off before plug-in, on after | Critical for both |
| Recommended Cord Type | 30-amp shore power cord | 50-amp shore power cord | Never use household extension cords |
If you’re new to this, the amp service question trips people up first. Most older or smaller rigs run on 30-amp service. Larger fifth wheels, Class A coaches, and anything with two air conditioners typically need 50-amp. A 50-amp RV can plug into a 30-amp pedestal with an adapter, but you’ll be managing power carefully. A 30-amp rig on 50-amp service with a dogbone adapter works fine.
The actual pedestal connection is straightforward: flip the breaker off before you plug in. This matters especially on 50-amp hookups because those connectors are large and you want to avoid any arcing. Plug in, then flip the breaker on. When you disconnect, reverse it: breaker off first, then unplug.
What most people don’t realize is that campground power quality varies wildly. State parks tend to be better maintained than some private campgrounds built in the 1970s and never seriously upgraded. I’ve seen voltage readings as low as 103 volts at a busy Florida campground in July when everyone’s running their AC. That low voltage actually damages your appliances over time more than a spike does. A good surge protector with an EMS (Electrical Management System) monitors voltage and cuts power if it drops dangerously low.
One more thing: extension cords. Don’t use them. If your cord doesn’t reach the pedestal, buy a longer 30-amp or 50-amp shore power cord, not a home extension cord run in series. The amperage you’re pulling will overheat a household extension cord.
Water Hookup: Pressure, Filtration, and the Freeze Warning
The city water connection on your RV feeds water directly into your plumbing and bypasses your onboard tank. That’s convenient, but it exposes your entire plumbing system to whatever pressure the campground is running.
Campground water pressure ranges from 30 PSI to well over 100 PSI. Your RV’s plastic fittings, valves, and water lines are typically rated for 45 to 60 PSI. A pressure regulator is not optional. I use a dial-type so I can actually see what I’m working with. They cost $15 to $30 and have saved me from at least two fitting failures.
The other piece is filtration. Campground water quality is inconsistent. I run a two-stage inline filter between the spigot and my coach. One stage handles sediment, one handles taste and odor. If you’re staying anywhere with well water or in areas known for water quality issues, consider a dedicated Berkey or similar gravity filter for drinking water inside. (This site may earn a commission on qualifying purchases.)
Cold weather riders need to pay attention here. If temperatures are forecast to drop below freezing, disconnect your water hose and store it. Open a faucet briefly to relieve pressure in the line. Use heat tape on any exposed pipes if you’re staying put. A burst fitting inside an RV wall is an expensive repair that happens to people who figured they’d be fine for just one night.
Sewer Hookup: The Part Nobody Loves But Everyone Needs to Understand
The sewer connection is where new full-timers make the mistakes that give them stories they’ll tell for years.
Step-by-step sewer hookup:
- Put on disposable gloves. Every time. No exceptions.
- Connect your sewer hose to the RV’s termination valve first, before the valve is open.
- Run the hose to the campground sewer cleanout. Use a sewer hose support/slinky to keep the hose elevated and draining toward the cleanout rather than pooling. (This site may earn a commission on qualifying purchases.)
- Secure the hose into the cleanout with a fitting adapter. Don’t just lay it in there loosely.
- Leave both tank valves (black and gray) closed during normal use.
The biggest rookie mistake: leaving the black tank valve open continuously. People do this thinking it’s easier. What actually happens is the liquids drain away immediately, the solids stay behind, and you end up with what full-timers call “the pyramid of shame.” Keep the black tank closed until it’s at least two-thirds full, then dump. Keep enough water in the black tank during use so things can move.
Gray tank management is more flexible, but I still leave it closed most of the time and dump it after the black tank. Running gray water through the line after a black tank dump helps rinse the sewer hose.
When you disconnect: close both valves, remove the hose from the cleanout first, then disconnect from the RV. Cap both ends of the hose, rinse it out with the campground hose or a dedicated flush hose, store it in a sealed compartment.
A Quick Comparison: Full Hookups vs. Partial Hookups vs. Dry Camping
Sources
- Progressive Industries EMS-HW30C
- pressure regulator
- two-stage inline filter
- sewer hose support/slinky
- Victron BMV-712
| Setup | What You Have | What You Manage |
|---|---|---|
| Full hookups (W/E/S) | Water, 30/50-amp electric, sewer | Almost nothing actively |
| Electric only (W/E) | Water and electric, no sewer | Tank dumps at dump station |
| Electric only | Power, no water/sewer | Water from tank, dump station |
| Dry camping / boondocking | Nothing from the campground | Everything: water, power, waste |
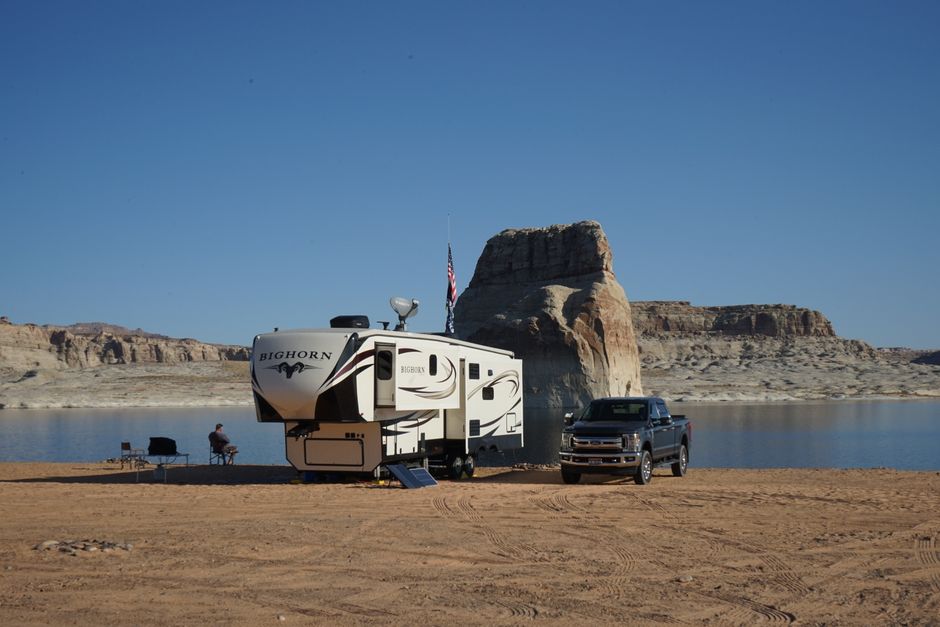
Full hookups are the most convenient, but they’re also the most expensive and increasingly scarce in popular areas. Learning to manage your tanks well means you can stay comfortably in partial hookup or dry camping situations, which opens up a huge range of locations and saves real money.
If you’re serious about extended boondocking, a battery monitor and a small solar setup change the game. You stop guessing about your power state and start making actual decisions. The Victron BMV-712 is what I use and recommend. (This site may earn a commission on qualifying purchases.)
The full-hookup routine becomes genuinely automatic after a few months. You stop thinking about the order and just do it. But getting to that point means building the habit correctly from the start, with the right gear and the right sequence. Get those pieces in place and you’ll spend a lot less time troubleshooting and a lot more time actually enjoying wherever you’ve landed.
Photo: Kampus Production via Pexels