 Tony Reeves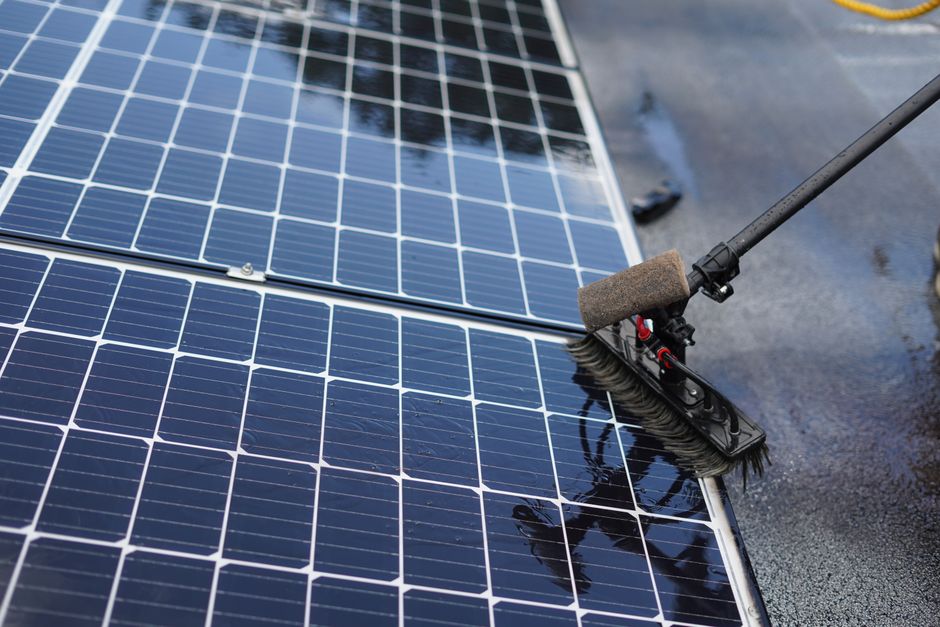
Most solar guides for RVers start with wattage calculators and end with a parts list. That’s backwards. The thing that kills most DIY solar installs isn’t undersizing the panels or picking the wrong wire gauge. It’s installing components in the wrong order and discovering mid-project that your battery bank doesn’t fit where you planned, or that your charge controller needs to be within three feet of your batteries and you’ve already bolted your panels to the roof.
I’ve done two full solar builds on my rigs, helped a handful of readers work through theirs over email, and made enough mistakes that I can tell you exactly where this goes sideways. Let’s do this right.
Size the System Before You Buy Anything
You cannot size a solar system without knowing your actual loads. Not estimated loads. Actual.
Spend three days running your rig on shore power and monitoring everything with a battery monitor or a clamp meter. Write down what runs, for how long, and roughly how many amps it pulls. A residential-style 12V compressor fridge might pull 4-5 amps but only cycle 30-40% of the time. A 1,500-watt electric skillet run for 20 minutes at lunch is a different problem entirely. Your roof fan, your phone charging, your water pump, your laptop, whatever lighting you’re running: track all of it.
Here’s the math that actually matters. Convert everything to watt-hours per day. (Amps x volts x hours = watt-hours.) Add it all up. That’s your daily load. Then figure out how many usable sun hours you’re realistically going to get in the regions you camp most. The Southwest in summer? You can count on 5-6 peak sun hours. The Pacific Northwest in October? Plan for 2-3. Use the lower number.
Divide your daily watt-hours by your usable sun hours. That tells you how many watts of solar you need to break even on a good day. You want a buffer above breakeven, because clouds exist and dust exists and trees exist. A 20-30% overhead is reasonable.
The batteries are a separate calculation. Figure out how many days of autonomy you want (how many cloudy or low-generation days you can survive without shore power or a generator), multiply your daily load by that number, then double it. You should only discharge lithium batteries to 80% depth and lead-acid to 50%, so you need more rated capacity than you think. This math is where most people undersize and then wonder why they’re running the generator every afternoon.
For two people boondocking comfortably, you’re looking at 400-600 watts of panels, 200Ah of lithium (Battle Born or Renogy run $800-$1,000 for 200Ah), and a 40-amp MPPT charge controller. That’s your real starting point.
Pick Your Components in the Right Order
| Component | Typical Cost | Notes |
|---|---|---|
| 200Ah Lithium Battery Bank | $800-$1,000 | Battle Born or Renogy |
| MPPT Charge Controller | $150-$280 | Victron SmartSolar 100/30, 100/50, or 150/35 |
| Solar Panels (200W rigid monocrystalline) | Varies | Sweet spot for handling and roof space |
| Pure Sine Wave Inverter (2000W) | $180-$220 | Renogy; handles most loads except high-wattage AC |
| Battery Monitor | $90 | Victron BMV-712 |
| AGM Golf Cart Batteries (6V, per unit) | $120-$160 | Costco or Sam’s Club; budget alternative to lithium |
Batteries first. Always batteries first.
The battery bank determines the charge controller size, which partly determines the panel configuration, which determines the wire sizing and fuse ratings. Work backwards from that and you’ll end up making compromises that cost you money or performance or both.
Batteries: Lithium iron phosphate (LiFePO4) costs more upfront, but for full-time RVers it wins. You charge faster, discharge deeper, weigh less, and get 3,000-5,000 cycles instead of 400-500 for AGM. Over five years, it’s almost always cheaper. If budget is genuinely tight, 6-volt AGM golf cart batteries wired in series-parallel are the next best thing: $120-$160 each at Costco or Sam’s Club.
Charge controller: MPPT beats PWM every time. The efficiency gain in real conditions (partial shade, cold mornings, panels not at perfect angles) is 15-30%. I run Victron SmartSolar. The 100/30 handles most van and small RV setups. The 100/50 or 150/35 covers larger Class A or fifth wheel builds. Budget $150-$280 depending on the model. Renogy’s Wanderer and Rover series are solid alternatives if you’re watching costs.
Panels: For roof mounting, rigid monocrystalline panels are efficient and durable. 200-watt panels are the sweet spot for handling and roof space. If you need flexibility around vents and AC units, arrange 100-watt panels around the obstacles. Flexible panels on a hard roof trap heat underneath and degrade faster. Save flex panels for sprinter vans where weight and profile actually matter.
Inverter (if needed): A pure sine wave inverter is the only option worth considering for anything with a motor or sensitive electronics. Modified sine will damage some devices and run others inefficiently. Renogy’s 2000W pure sine runs around $180-$220 and handles most loads except residential AC or a microwave above 1,000 watts. Size it to your largest expected load, not your average load.
Battery monitor: Buy one. A Victron BMV-712 is $90 and tells you exactly what’s going in and out of your battery bank in real time. Without it, you’re flying blind. This isn’t optional for boondocking.
The Actual Installation, Step by Step
This is where most guides get vague. Here’s the actual sequence.
1. Mount and wire the batteries first.
Install your battery bank in its permanent location. Bolt down the batteries, run your main negative cable to the chassis ground if you’re supplementing a vehicle system (for trailers, this is less critical but still good practice), and install your main fuse within 18 inches of the positive battery terminal. For a 200Ah lithium bank, a 100-amp ANL fuse is appropriate. For a 400Ah bank, go 200-amp. Blue Sea Systems makes the fuse holders I trust most.
2. Mount the charge controller near the batteries.
Keep the charge controller to battery wire run as short as possible. Three feet or less is ideal. Longer runs mean bigger wire to compensate for voltage drop, and that costs money. Mount the controller on a wall or cabinet face where it has airflow. They get warm.
3. Run your roof cable before mounting panels.
Figure out your cable entry point (a dedicated solar cable entry gland runs about $10-$15 and beats drilling a bare hole), run your conduit or cable from roof to controller location, seal everything with Dicor or a similar self-leveling lap sealant. Do this before panels go up. Working on a roof with panels in the way is miserable.
4. Mount the panels.
Use Z-brackets or tilt mounts. Z-brackets are simpler and lower profile. Tilt mounts (like those from Renogy or AM Solar) are worth it if you camp in lower-light conditions or at higher latitudes, where angling toward the sun adds meaningful production. Bolt through the roof with stainless hardware and seal every penetration. Every single one.
Wire panels in series if you have an MPPT controller and want to keep amperage low on long roof runs. Wire in parallel if shading is a concern (shading one panel in a series string kills the whole string). Mixing series and parallel is also an option with four or more panels.
5. Connect panels to charge controller, then controller to batteries.
In that order. Always panels-to-controller before controller-to-batteries on initial hookup, and batteries-first when disconnecting. Check your controller manual though, some MPPT units specify the exact opposite. Victron is batteries first. Renogy is panels first. Read the manual.
6. Configure the charge controller.
For lithium, set the charge profile: bulk/absorption around 14.4V, float at 13.5-13.6V, no equalization. Wrong float voltage on lithium will either leave you undercharged or stress the cells. If the controller has Bluetooth (Victron does, natively), connect the app and verify everything is reading correctly before you close up any panels or compartments.
7. Add your inverter last.
Wire the inverter directly to the batteries with appropriately sized cable (check an ampacity chart, undersized wire is a fire hazard) and its own fuse rated at 125% of the inverter’s max draw. A 2,000W inverter at 12V draws up to 166 amps. That’s a 200-amp fuse and 2/0 AWG cable for runs up to about four feet.
The Things Nobody Warns You About
Sources
Roof weight adds up faster than you think. Four 200-watt panels at roughly 25 lbs each is 100 lbs before brackets and wire. Know your roof rating. Fiberglass roofs on older rigs can flex and crack under that load if the mounting spans poorly.
Shade management is the biggest ongoing performance issue after installation. One big tree shadow across two panels at noon can drop your production 60-70%. It changes where you camp and how you position. Get used to thinking about it.
Heat kills solar production. Panels at 77°F are rated at their spec sheet numbers. At 130°F, which is realistic on a black roof in July in Arizona, you lose roughly 15-25% of rated output. Mounting panels with an air gap underneath (Z-brackets do this automatically) helps more than people realize.
Finally: check your connections every six months. Vibration loosens terminals. A loose battery terminal gets warm, and warm terminals eventually become a fire. The Victron BMV will catch a lot of problems early because you’ll notice your resting voltage drifting or your charging behavior changing before anything goes seriously wrong.
Eight years in, the solar setup on my current rig is the single best upgrade I’ve made to full-time life. Not because it’s glamorous. Shore power anxiety is gone. You can stay somewhere beautiful for a week without running a generator and without watching your battery percentage like a hawk. That’s what the system is really for. The wiring is just how you get there.
Photo: Florida Solar Fix via Pexels