 Greg Hoffman
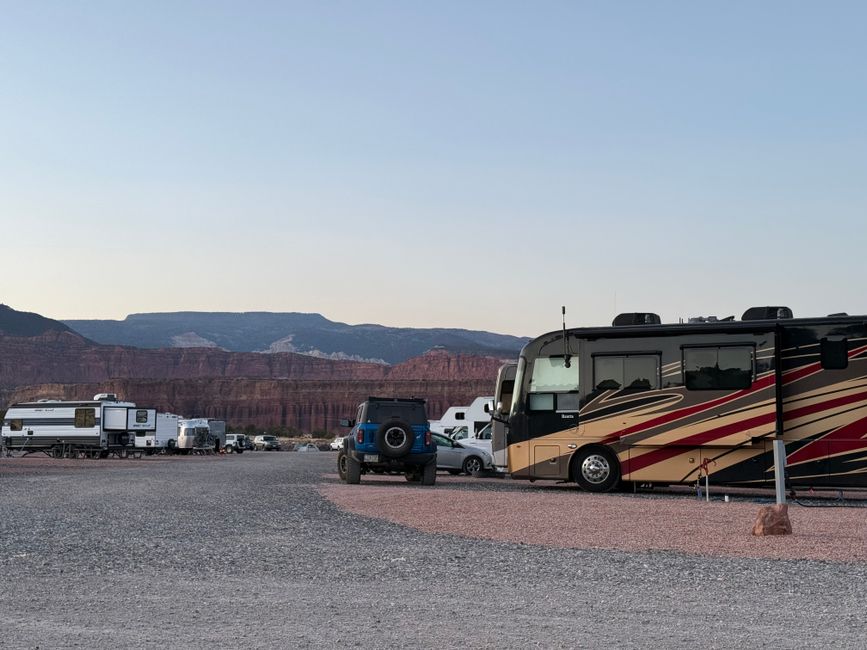
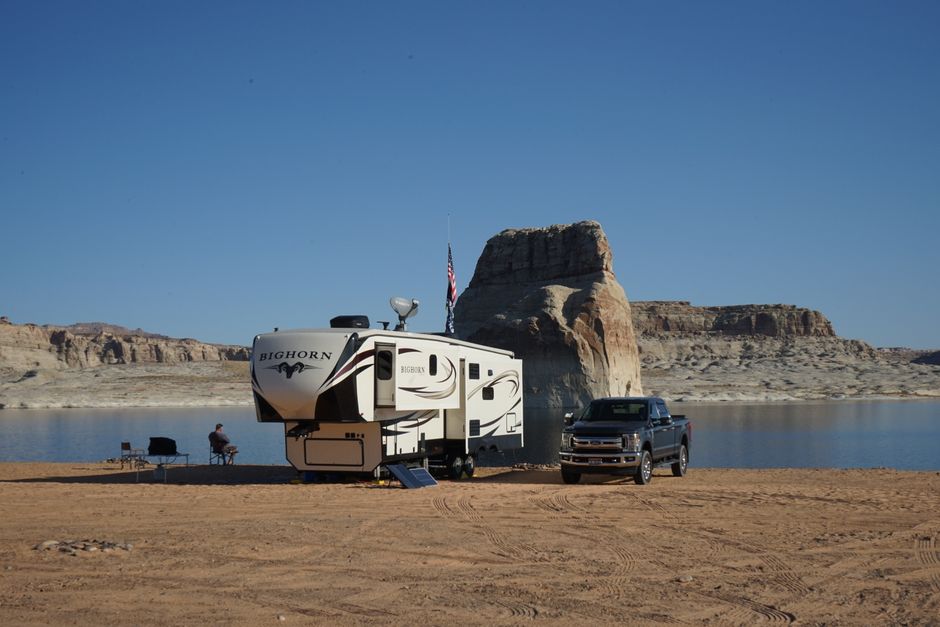
You pull up to a wide, flat mesa in southern Utah. Cut the engine. The only sound left is wind. No host. No fee envelope. No neighbor with a generator running at 11 p.m. Your spot costs zero dollars, and you can stay 14 days. That’s boondocking. Once you’ve done it, paying $60 a night for a packed campground starts to feel almost criminal.
Boondocking (also called dispersed camping or dry camping) means setting up on public land with no hookups, no fees, and usually no one within miles. Millions of RVers do it yearly on Bureau of Land Management land, National Forest land, and scattered other public areas. When it works, you slash your camping costs while finding views no commercial campground can touch. When it doesn’t, you wake up to dead batteries, empty tanks, and a full gray tank on day two.
This guide covers the actual mechanics of making it work.
Where to Find Free Camping Land
The U.S. has roughly 245 million acres of BLM land. Most of it allows dispersed camping. Add National Forests (193 million acres) and you’re staring at an genuinely enormous amount of free territory. The problem is knowing which spots allow it and where exactly to park.
BLM Land is where boondocking happens. Quartzsite, Arizona. The Alabama Hills near Lone Pine, California. Grand Staircase-Escalante in Utah. These areas pull thousands of boondockers annually. The BLM’s website has an interactive map. The free Motor Vehicle Use Maps (MVUM) app shows where you can legally drive and camp on Forest Service roads.
National Forests let you do 14 days of dispersed camping in most areas. Camp anywhere that’s at least 200 feet from water, trails, and roads, as long as no sign says otherwise. Some forests have campfire restrictions, so check your local ranger district before heading in.
State-Managed Land is all over the place. Nevada and Wyoming have massive stretches open to camping. Most eastern states have almost nothing. Check your state’s land management agency directly.
The best apps are iOverlander, FreeRoam, and the Dyrt (free tier plus paid). Campendium is solid too, with user photos so you can actually see a spot before you commit. For coordinates and real community feedback, iOverlander and FreeRoam together cover most boondocking areas.
Call the local BLM field office before your first trip to any new area. I’ve gotten better intel from a five-minute phone call than from two hours online. The staff tell you which roads work, where the good spots are, and if there are seasonal closures.
Power Management: The Real Limiting Factor
| Item | Draw | Hours/Day | Daily Ah |
|---|---|---|---|
| 12V fridge | ~4-5A | 24 | 50-60 Ah |
| Laptop charger | ~4-5A | 4 | 16-20 Ah |
| Phone charging | ~1A | 4 | 4 Ah |
| Interior LED lights | ~1-2A | 5 | 5-10 Ah |
| Water pump | ~5A | 0.5 | 2-3 Ah |
| Total | ~77-97 Ah/day |
Most people end their boondocking trips early for one reason: dead batteries. Not empty water tanks. Not a full gray tank. Dead batteries. If your RV has just the factory setup (usually one or two 100Ah lead-acid batteries), you’re working with roughly 50 usable amp-hours before you risk damage. That’s not much.
Here’s what actually drains power:
| Item | Draw | Hours/Day | Daily Ah |
|---|---|---|---|
| 12V fridge | ~4-5A | 24 | 50-60 Ah |
| Laptop charger | ~4-5A | 4 | 16-20 Ah |
| Phone charging | ~1A | 4 | 4 Ah |
| Interior LED lights | ~1-2A | 5 | 5-10 Ah |
| Water pump | ~5A | 0.5 | 2-3 Ah |
| Total | ~77-97 Ah/day |
One 100Ah battery gets you through one moderate day. Serious boondocking needs at least 200Ah of lithium (or 400Ah of AGM/lead-acid, since you only use 50% of those). Two 100Ah lithium batteries plus 400 watts of solar handles a week comfortably.
A solid 100W flexible solar panel puts out 30-50Ah on a clear day depending on where you are and how you angle it. Four panels cover most full-time boondockers. Add a Victron BMV-712 battery monitor and you’ll actually know your charge percentage instead of guessing. That alone keeps people from waking up to a dead system.
If solar doesn’t fully cut it, a small generator like the Champion 2000W or Honda EU2200i can top you up in two to three hours. Many boondockers run one for two hours in the morning and forget about it.
Water Strategy and Waste Management
BOONDOCKING 101: Newbie guide to FREE CAMPING · Home A Roam on YouTube
A typical RV freshwater tank holds 30 to 50 gallons. At five gallons per person per day (short showers, minimal dishes), a couple gets 3-10 days depending on tank size. With discipline you can stretch that further.
What actually works:
- Navy showers: wet, turn off water, soap up, rinse. One to two gallons instead of eight to ten.
- One-gallon jug on the counter for hand washing instead of pumping and draining the whole system.
- Paper plates for dry foods to cut dishwashing.
- Portable water container (a 5 or 7-gallon Aqua-Tainer costs under $20) so you can refill at gas stations without moving camp.
Gray tank fills faster than people expect. A 40-gallon tank goes full in 4-5 days with two people. Black tank is slower if you’re careful. Some boondockers use a portable toilet like a Thetford Porta Potti to stretch capacity. Others just learn to be selective.
Dump stations are everywhere. Sanidumps.com and Campendium both show free and cheap options. Most Flying J and Pilot truck stops charge $10-15 to dump, which beats being stranded.
A quality inline water filter protects you when filling from unfamiliar sources. It’s $20-30 and most full-timers consider it mandatory.
How to Find and Evaluate a Specific Spot
Finding a spot on a map is nothing like actually sleeping there safely. Here’s what works.
Step 1: Research online. Use Campendium, iOverlander, or FreeRoam for reviews. Look for current-season reviews since conditions change. Check the MVUM for road types.
Step 2: Check the actual road. Google Earth and the Gaia GPS app satellite view show you what you’re driving into. A Class C or travel trailer needs at least 12 feet wide with no steep sidehills. A 40-foot fifth wheel needs to be pickier.
Step 3: Arrive with daylight. Get there with two hours minimum before dark. Leveling and setup in the dark on unknown ground is a recipe for problems.
Step 4: Walk it first. Drive slowly. Look for soft soil, sand that could trap a tire, or rocky terrain that damages undercarriage. If ground looks questionable, get out and walk it.
Step 5: Level properly. Use leveling blocks before deploying slides or jacks. Unlevel RVs break refrigerators (which need level to run) and make sleeping miserable.
Step 6: Leave no trace. Pack out all trash. Don’t cut vegetation. Use a WAG bag or your black tank. Boondocking stays free because people act responsibly.
Costs Saved and What Boondocking Actually Changes About Your Budget
The math is straightforward. You’re currently paying $40-60 per night. A 14-day boondocking stay saves $560-840. Do it half the year and you save $10,000-15,000 annually compared to all commercial camping.
Our breakdown of what RV life actually costs shows campground fees are one of the top three monthly expenses for full-timers. Cut that category by 50% and you’ve found the fastest path to making this financially work.
But boondocking isn’t entirely free. You’ll use more propane (no electric hookup), spend more on solar and battery gear upfront, and drive farther to reach good spots. Fuel adds up. Our guide to RV fuel costs per mile has the math for whether a longer drive to free land beats a nearby paid site. Usually it does, but run the numbers yourself.
Choosing the Right RV for Boondocking
Sources
- Motor Vehicle Use Maps (MVUM)
- 100W flexible solar panel
- Victron BMV-712 battery monitor
- quality inline water filter
- leveling blocks
Not all RVs boondock equally. A 45-foot diesel pusher with residential everything requires serious solar and battery investment. Smaller rigs have a natural advantage.
Class B campervans are probably the best boondocking vehicles available. Compact. Easy to fit into dispersed sites. Small enough that power and water needs stay manageable. Our deep dive on the best Class B vans for full-time living covers top options in detail.
A well-chosen travel trailer or Class C works excellently too. Look for large freshwater tanks (40+ gallons), decent solar prep, and battery compartment space for lithium upgrades. Our coverage of the best travel trailers for full-time living highlights models actually built for extended off-grid use.
Regardless of what you drive, a surge protector is essential when you hook to shore power. And if you’re comparing options, our Class A vs Class B vs Class C breakdown covers the trade-offs that matter for this lifestyle.
Boondocking rewires how you travel. The places you reach. The quiet you find. The money you keep. It’s all real. It does need preparation, the right gear, and willingness to move on when a spot doesn’t work. But a week on a quiet mesa or parked beside a mountain stream on free National Forest land changes things. The learning curve pays for itself fast.
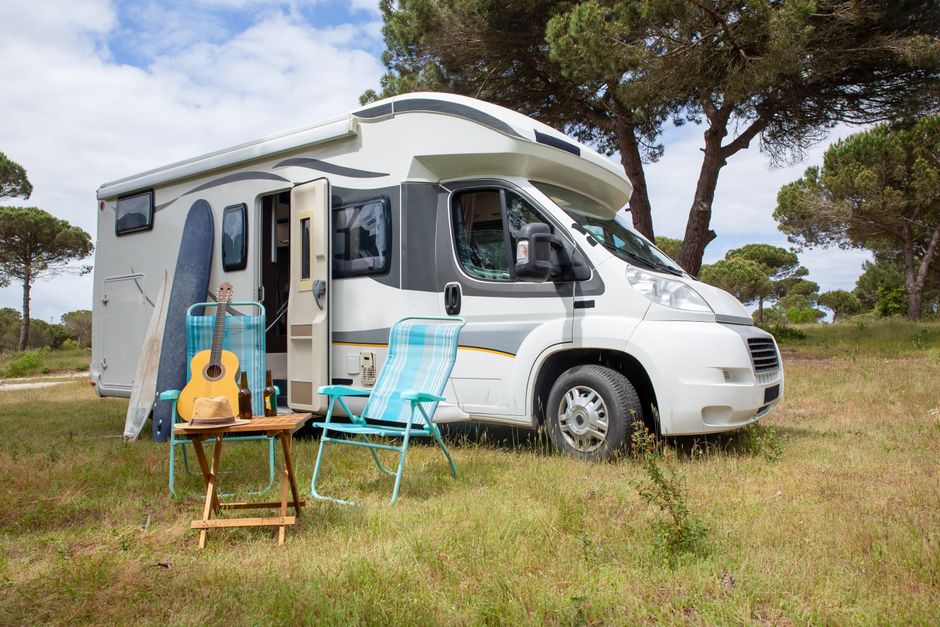
Photo: Magda Ehlers via Pexels